˚₊‧꒰ა Angel Nui Factory ໒꒱ ‧₊˚
click header to return home
꒰ ᧔ෆ᧓ ꒱ ⏔⏔⏔ ꒰ ᧔ෆ᧓ ꒱ ⏔⏔⏔ ꒰ ᧔ෆ᧓ ꒱ ⏔⏔⏔ ꒰ ᧔ෆ᧓ ꒱ ⏔⏔⏔ ꒰ ᧔ෆ᧓ ꒱ ⏔⏔⏔ ꒰ ᧔ෆ᧓ ꒱
˚₊‧꒰ა Welcome to the Angel Nui Factory website! ₊˚⊹ᰔ
I made this website as your go-to resource hub for making cotton dolls since there are not a lot of english resources. The following tabs have information I've collected that you'll need to know for each step. I am no pro and a some information may not be the best advice but I try my best! (note: most photos and references are not mine! I'll try to link where the photos are from when I can but it will be slow to update).
꒰ ᧔ෆ᧓ ꒱ ⏔⏔⏔ ꒰ ᧔ෆ᧓ ꒱ ⏔⏔⏔ ꒰ ᧔ෆ᧓ ꒱ ⏔⏔⏔ ꒰ ᧔ෆ᧓ ꒱ ⏔⏔⏔ ꒰ ᧔ෆ᧓ ꒱ ⏔⏔⏔ ꒰ ᧔ෆ᧓ ꒱
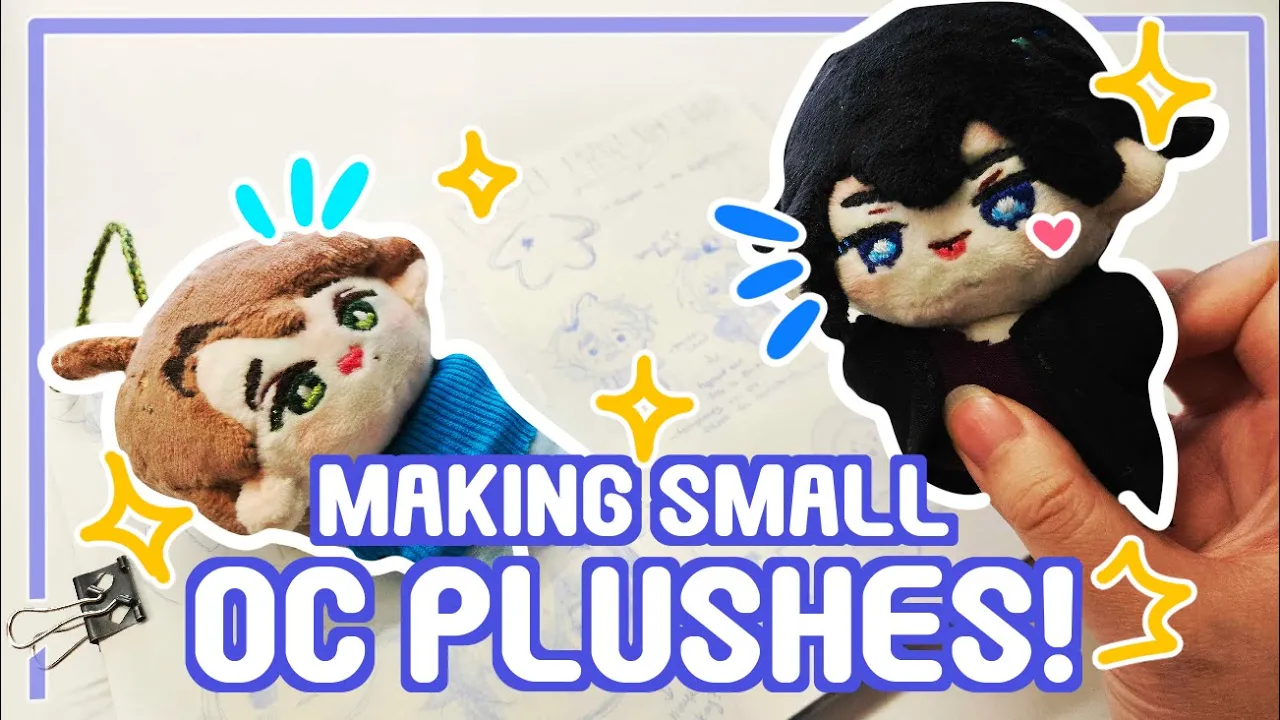
What are Nuis? ‧₊˚♪ 𝄞₊˚⊹
Nui is shorthand for Nuigurumi, which refers to plush toys in Japanese. These toys are typically modeled after popular characters and photographed as part of Nui Katsu culture. You can also hear them referred to as cotton dolls.
꒰ ᧔ෆ᧓ ꒱ ⏔⏔⏔ ꒰ ᧔ෆ᧓ ꒱ ⏔⏔⏔ ꒰ ᧔ෆ᧓ ꒱
This section includes all the patterns and references you can use to start designing your doll
꒰ ᧔ෆ᧓ ꒱ ⏔⏔⏔ ꒰ ᧔ෆ᧓ ꒱ ⏔⏔⏔ ꒰ ᧔ෆ᧓ ꒱
This section reviews all the materials and preliminary skills you need to learn before starting
꒰ ᧔ෆ᧓ ꒱ ⏔⏔⏔ ꒰ ᧔ෆ᧓ ꒱ ⏔⏔⏔ ꒰ ᧔ෆ᧓ ꒱
This section is the overview from start to finish of the steps you need to do to make your doll!Will be in construction for a while until I can document myself making my next doll for visual reference
꒰ ᧔ෆ᧓ ꒱ ⏔⏔⏔ ꒰ ᧔ෆ᧓ ꒱ ⏔⏔⏔ ꒰ ᧔ෆ᧓ ꒱
This section contains all the additional resources that can help you with your nui making journey!I.E: nui making accounts, tutorial videos, templates, material links, etc.
Designing the Doll
You want to make your own doll but don't even know what it's going to look like? This section is just for you! This section will go over what your doll can look like and all the different bodies and faces they can have!
Doll Size:
Nuis come in a variety of sizes including 10cm, 15cm, and 20cm. The size of your doll will determine which pattern you will use, if your doll can wear premade clothes, and how it will look finished.All of the dolls are assembled using similar if not identical pattern logic, so if you learn one size for a doll, you know how to make all of them.
10cm dolls:
This is the body type that I typically make! At this size, there are roughly three different body types you can make. Starfish body (pre-bought clothes will be large so they cannot wear pants), modified starfish (same as starfish but with longer limbs to fit clothes), and pedal foot (has more leg parts to be able to wear shoes). Each pattern gets more complicated to sew due to complexity, so I recommend the starfish body for those who are beginners.
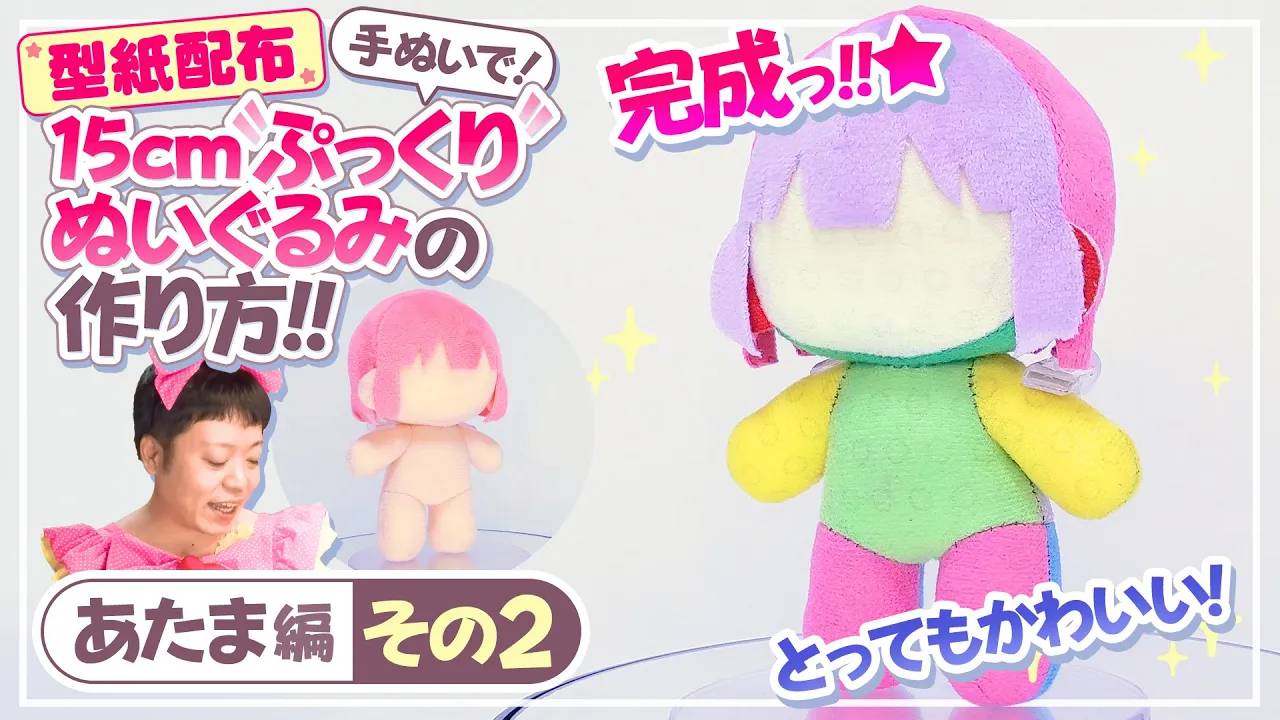
15cm dolls:
This size is another popular option because the size makes it a little easier to sew and handle. Most 15cm patterns are the same as the 10cm pedal foot patterns. If you are planning to buy clothes (specifically pants) instead of make them, this is a good option. For reference, a labubu is 17cm.
20cm dolls:
This is the largest standard size doll. Many people who commission OC dolls will get it in this size. This size is not super popular for nui katsu/photography because it is hard to carry arround at this size. This is more used for home display.
Face Design:
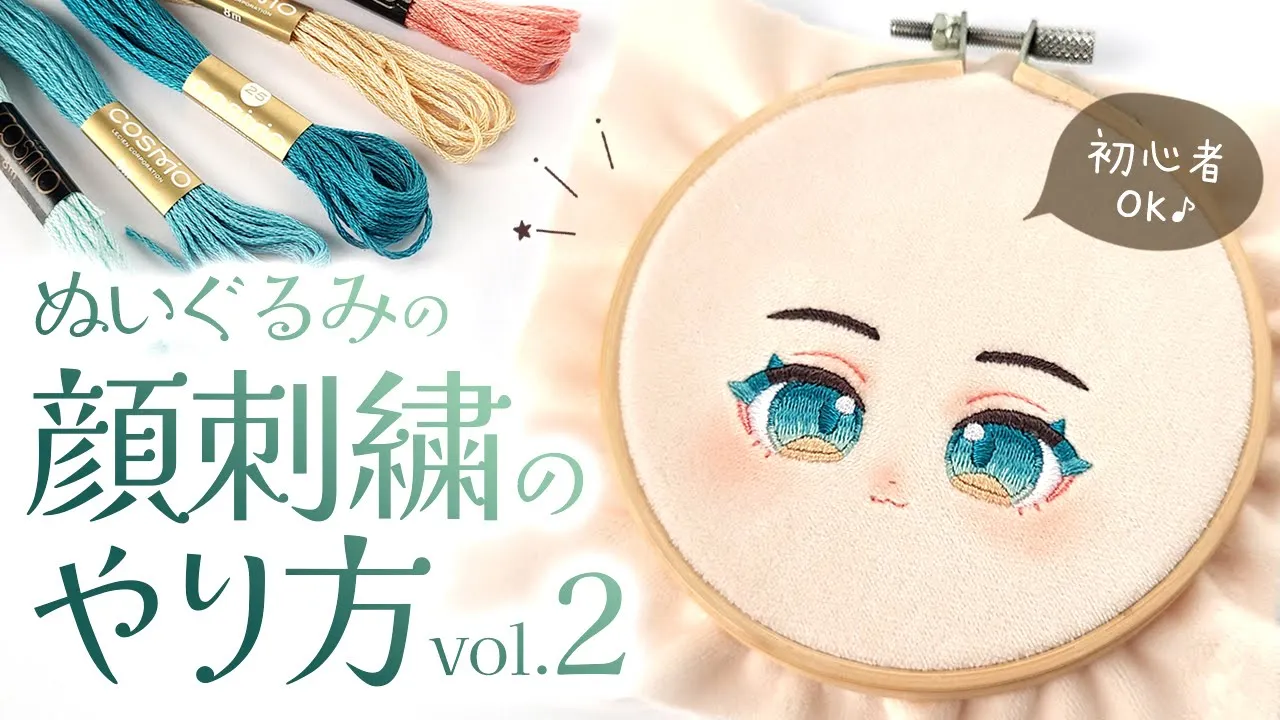
Many handmade nuis have different faces because the creator draws/designs their face. If you don't know where to start, I suggest looking at pinterest, red note, or online listings of your favorite dolls to learn how to stylize them. Consider that you will be embroidering the face by hand, so pick a design that is viable for your skill level
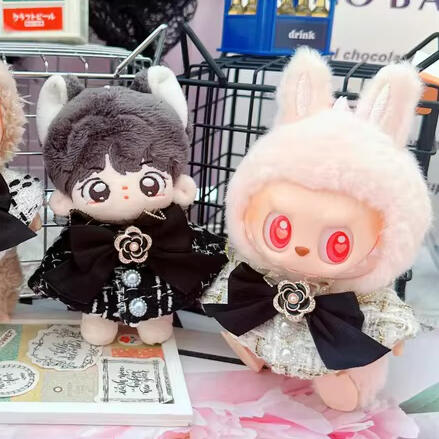
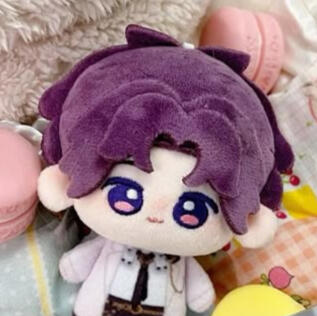
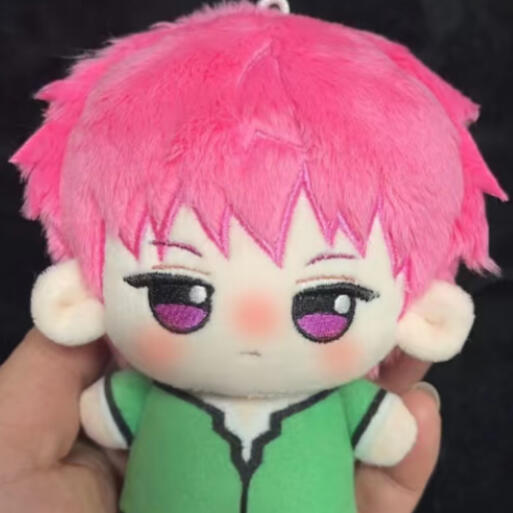
Oval Eyes:
This type of face is commonly used by large companies who mass produce dolls! it creates a cute look thats perfect for 10cm dolls.
If this is your first time hand embroidering I suggest using this design.
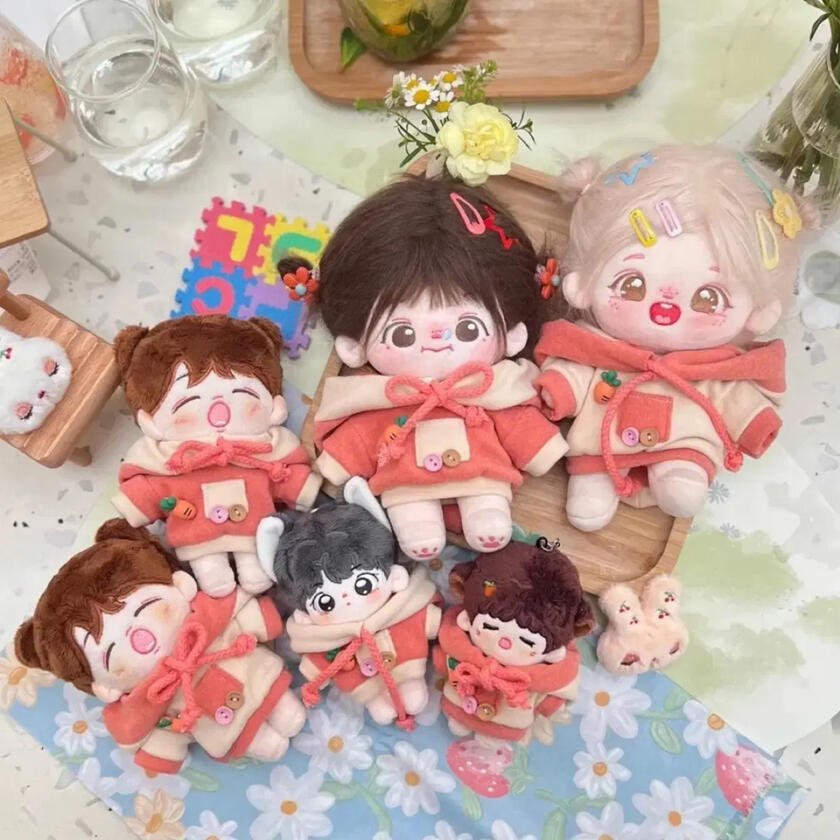
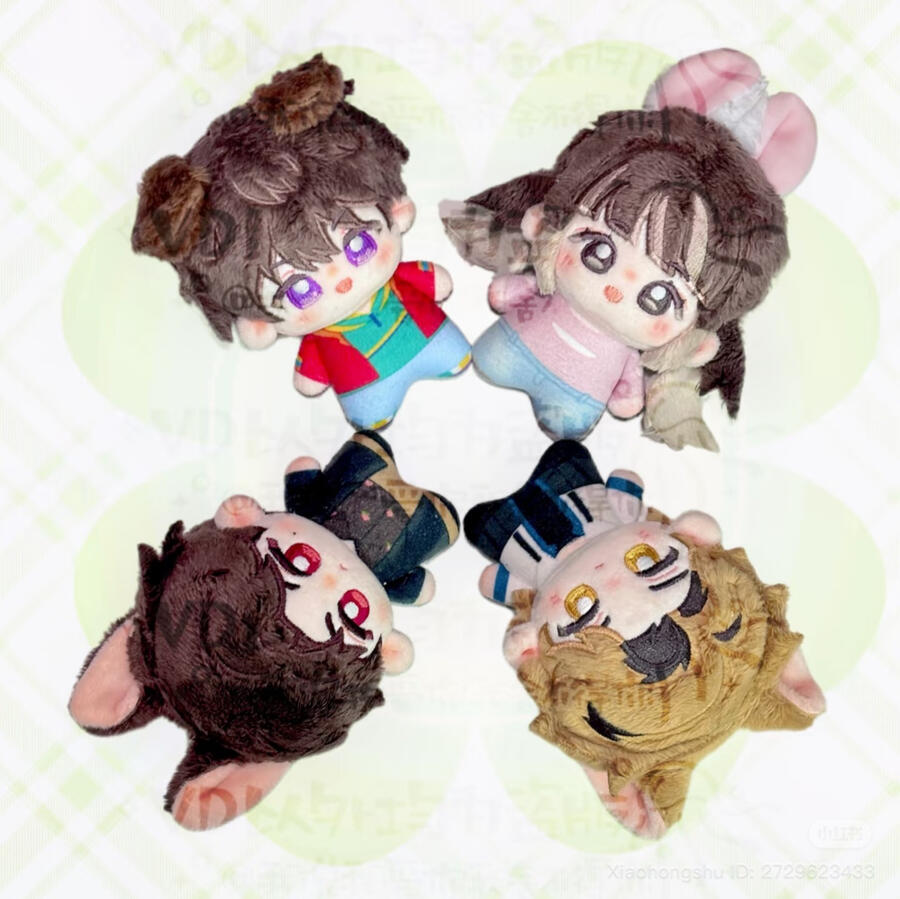
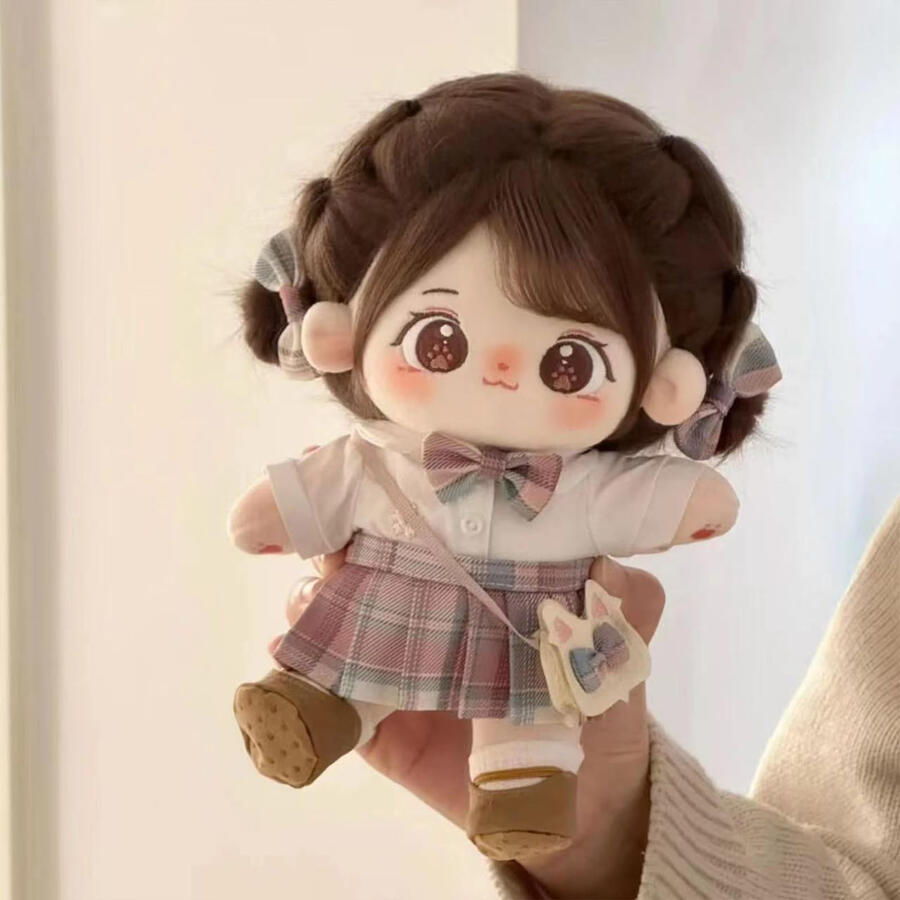
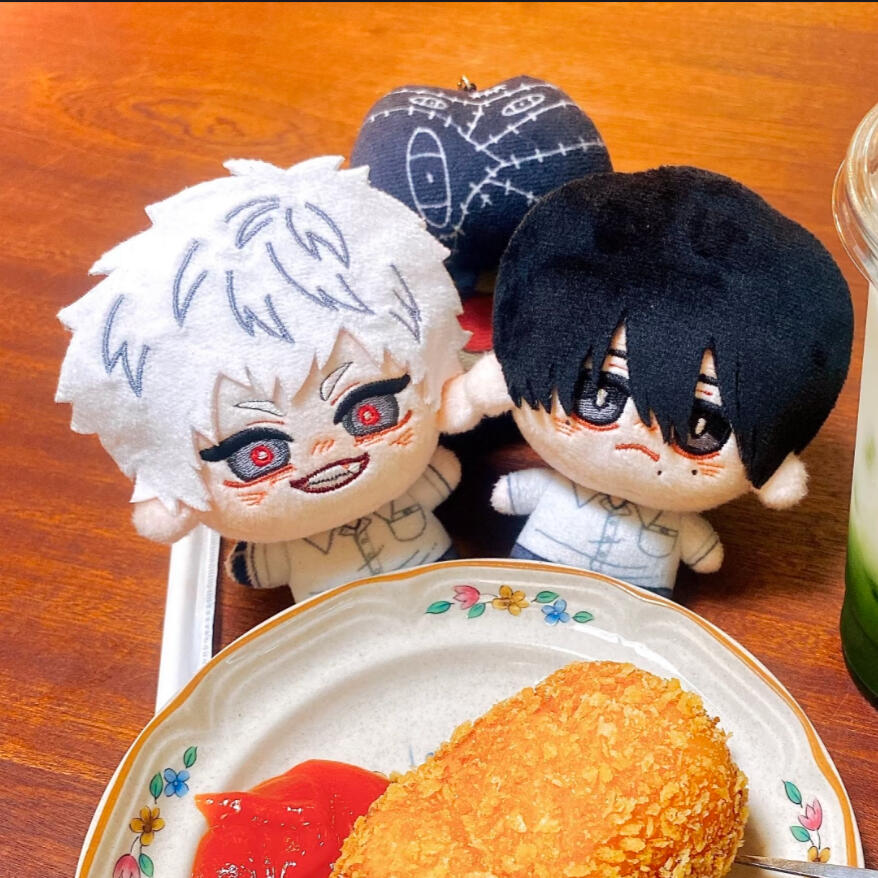
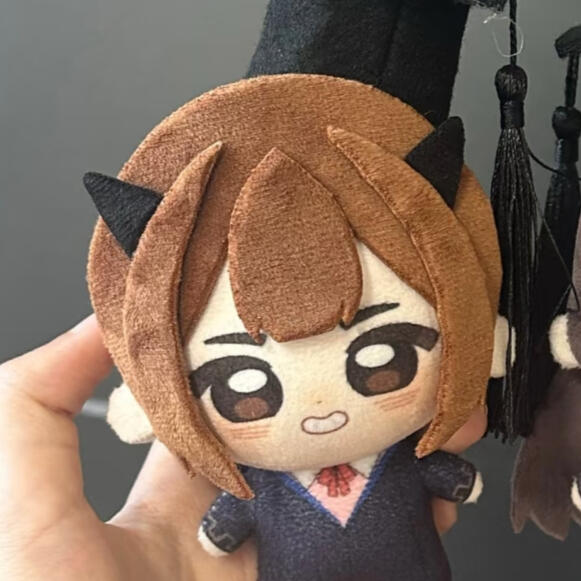
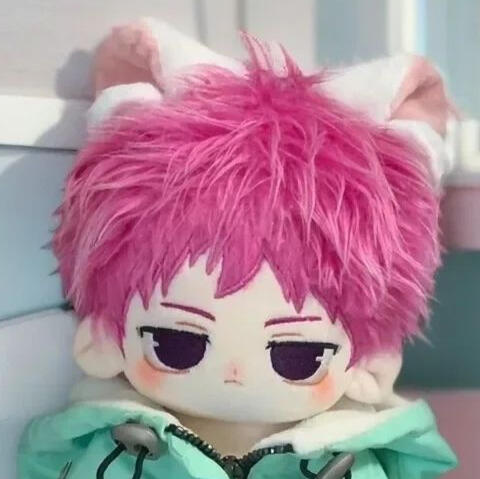
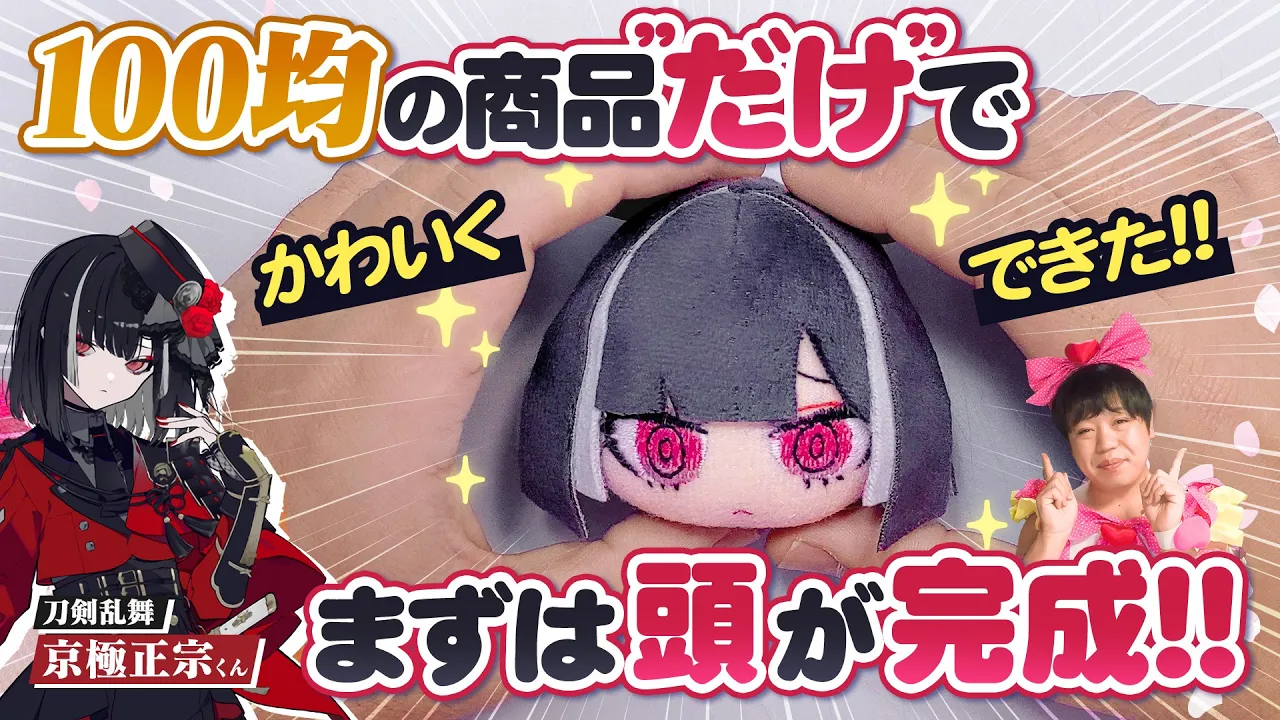
Simplistic Anime/Chibi:
These types of designs are good for beginners who want a slightly more complex look for their dolls. They feature roughly 1-3 colors of embroidery and simple shapes for easy embroidering.
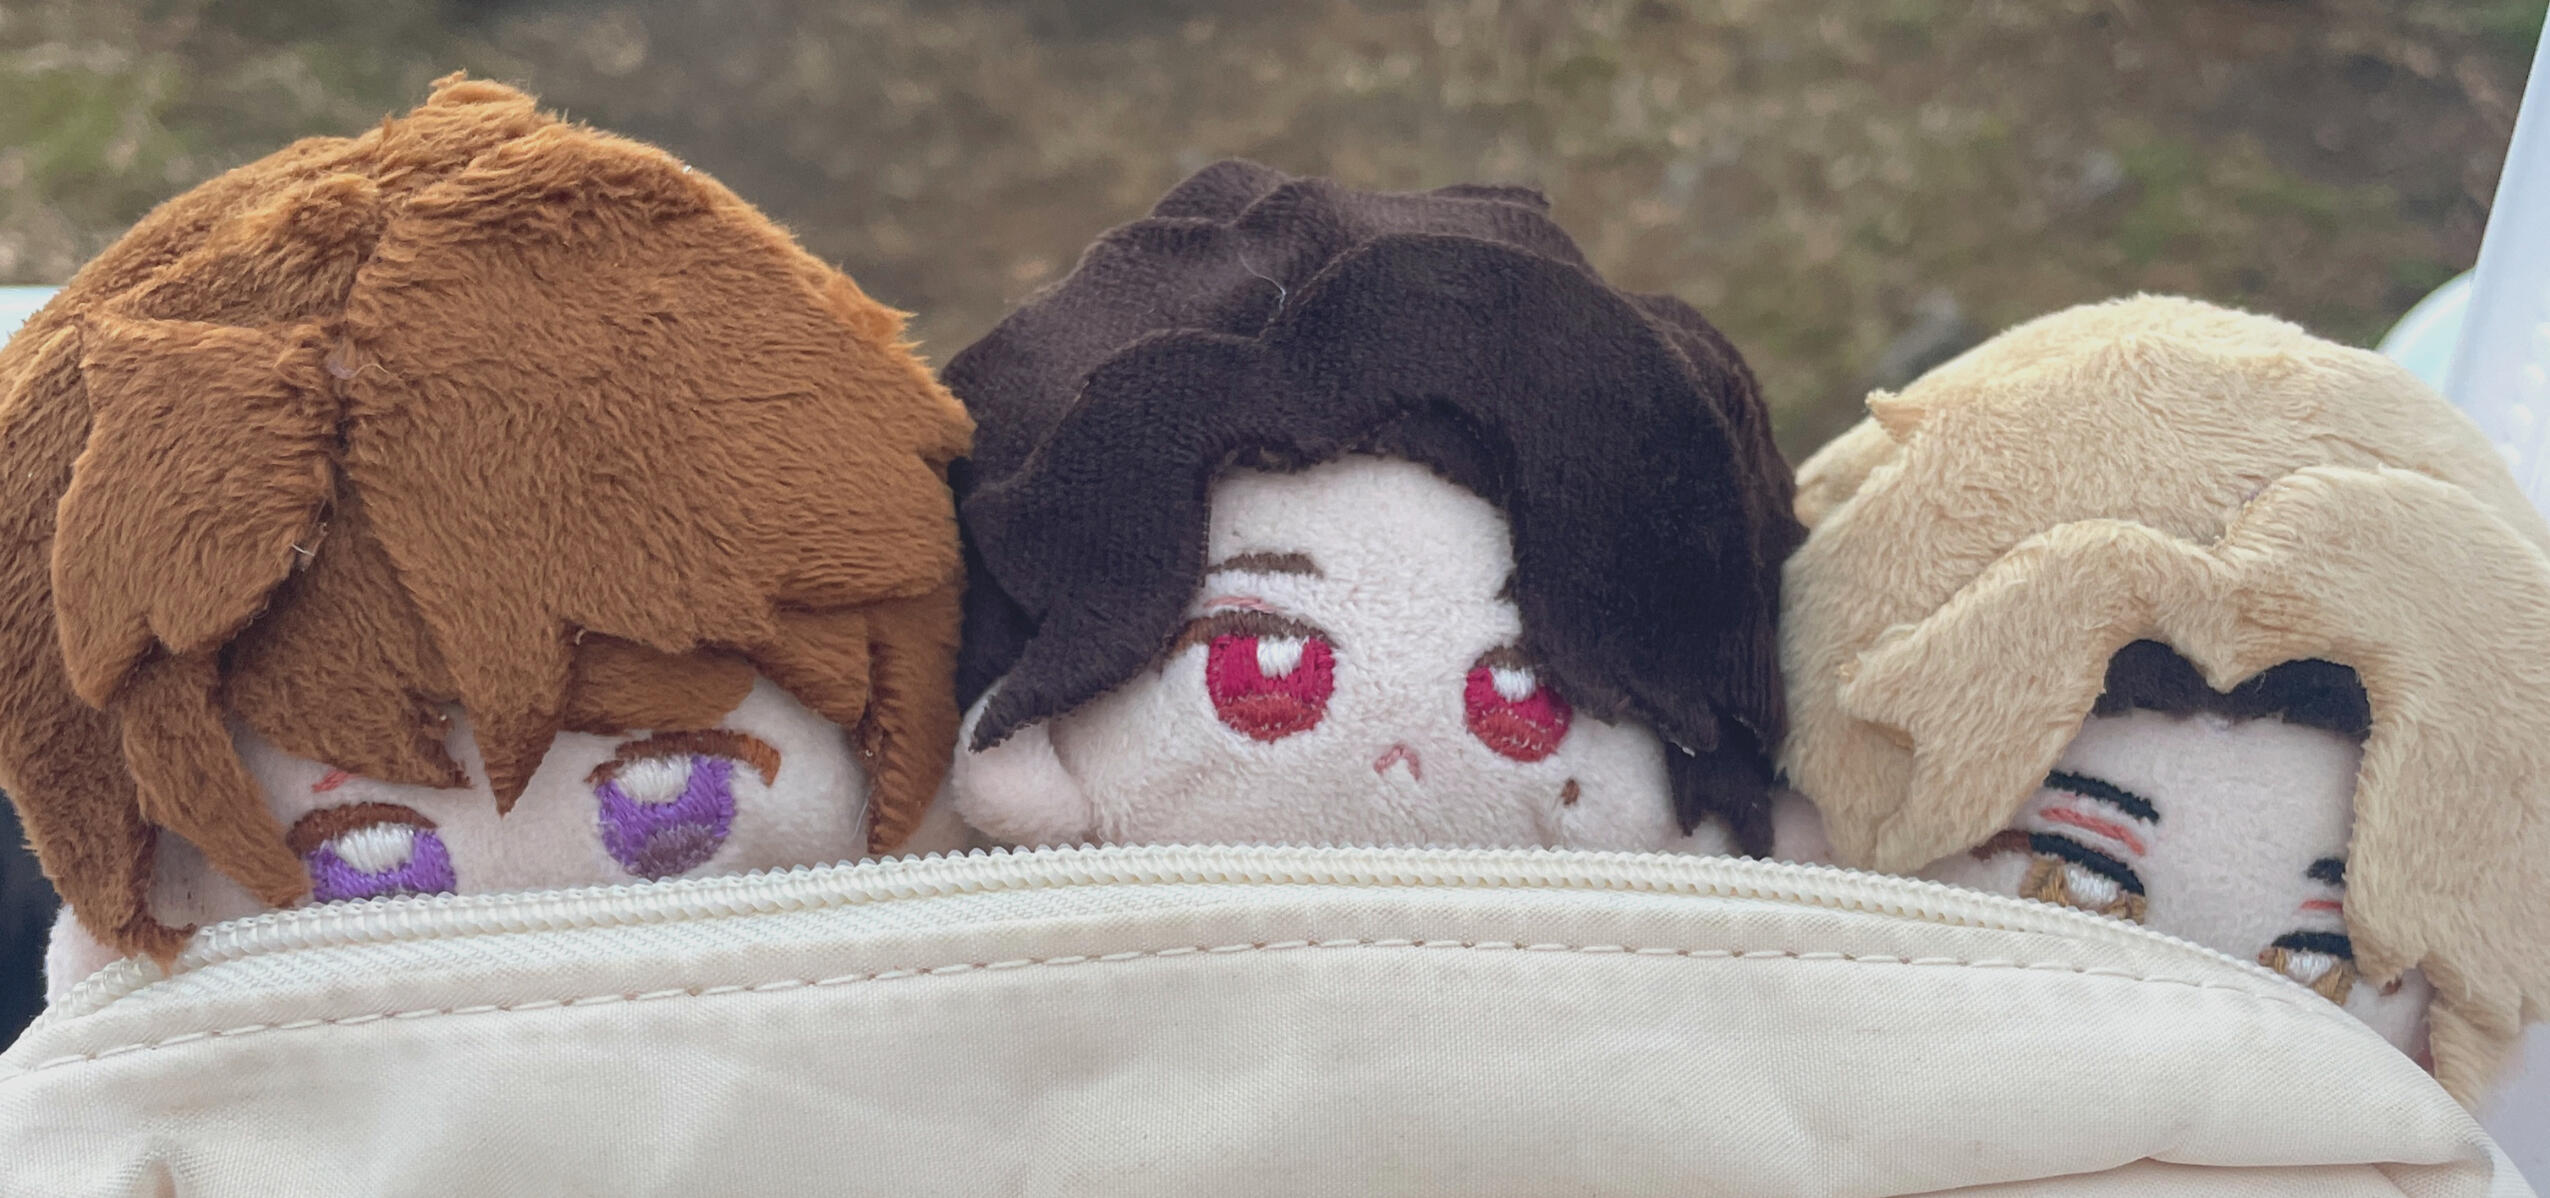
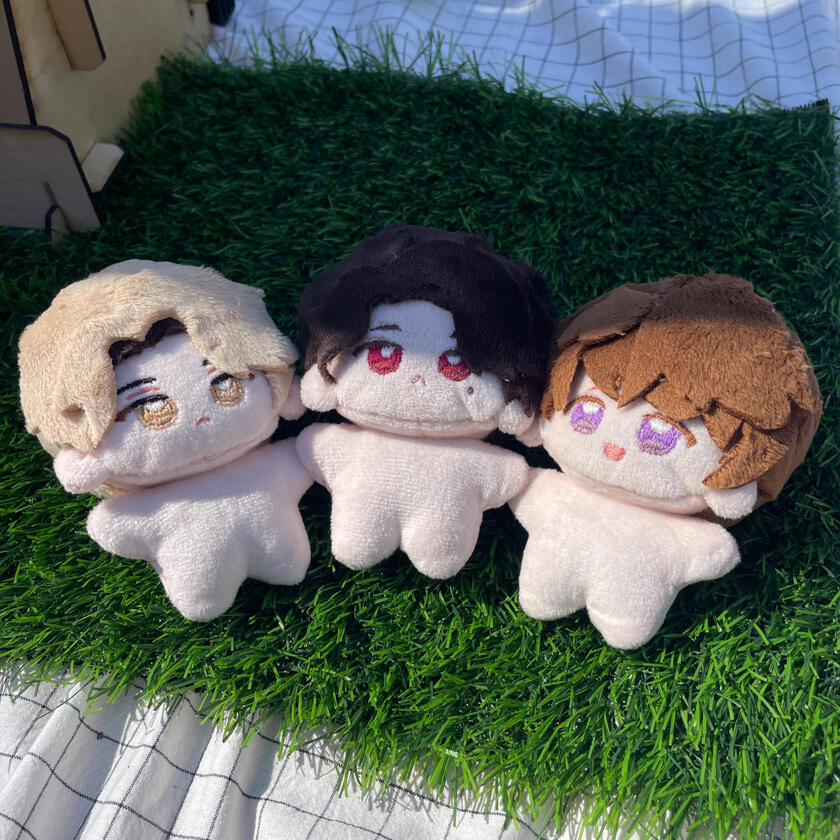
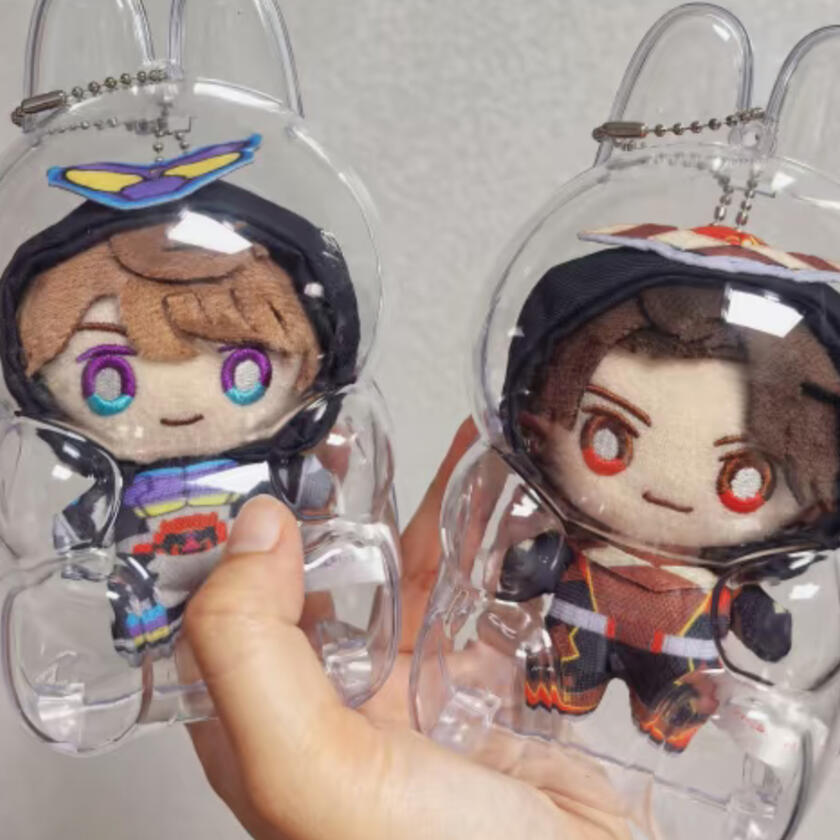
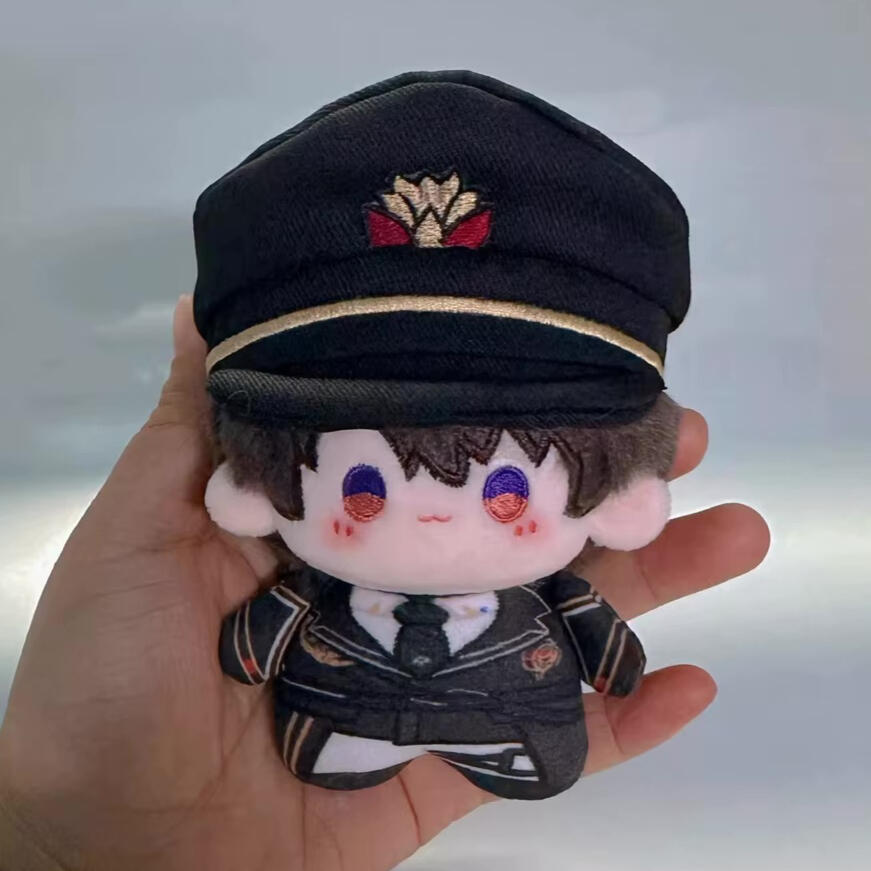
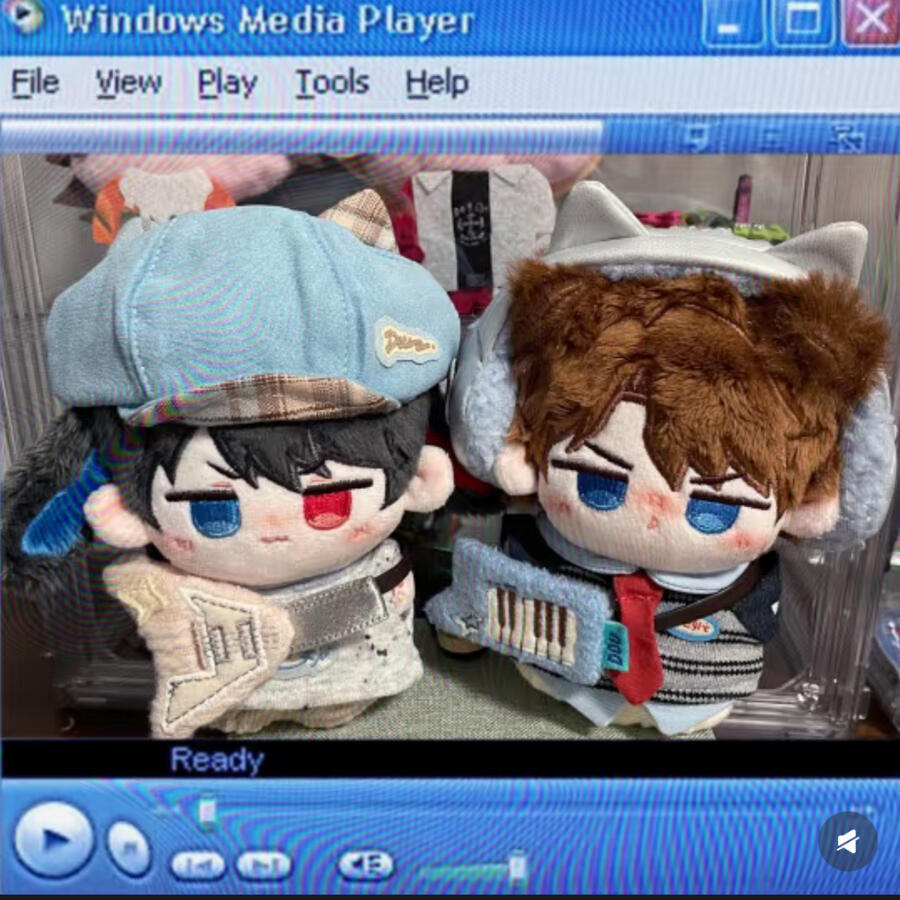
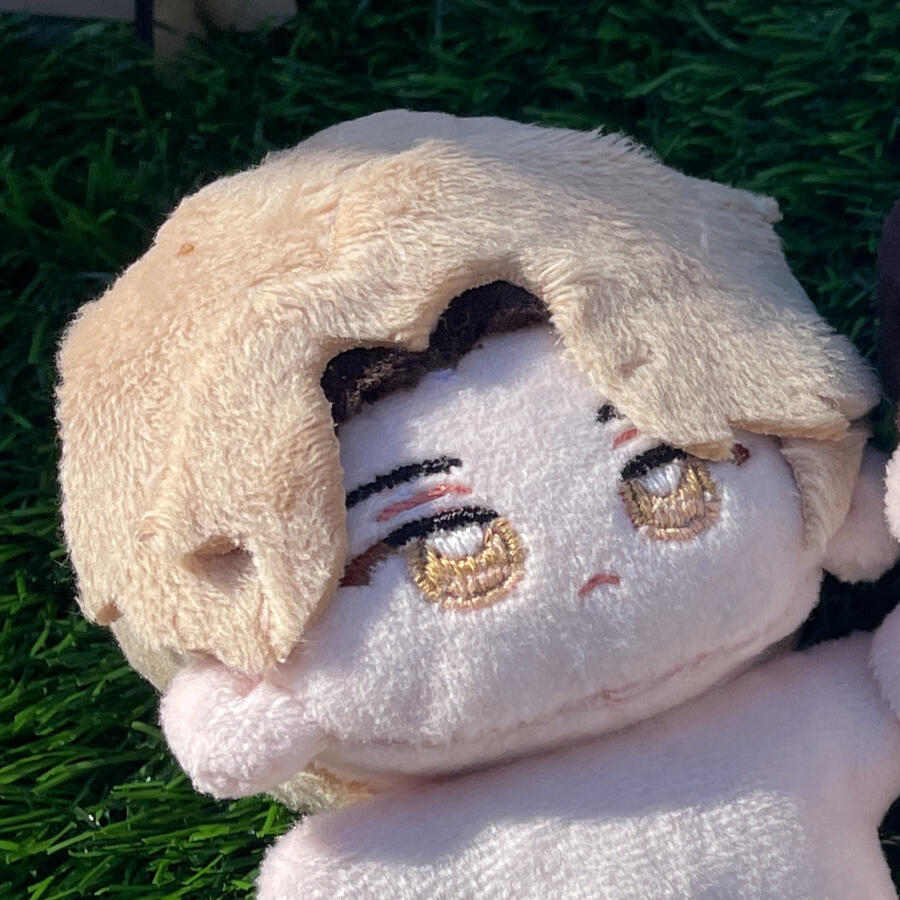
Complex:
If you are more experienced with embroidering, you can try for a more complex design. These designs have a lot more detail and feature a lot more colors.
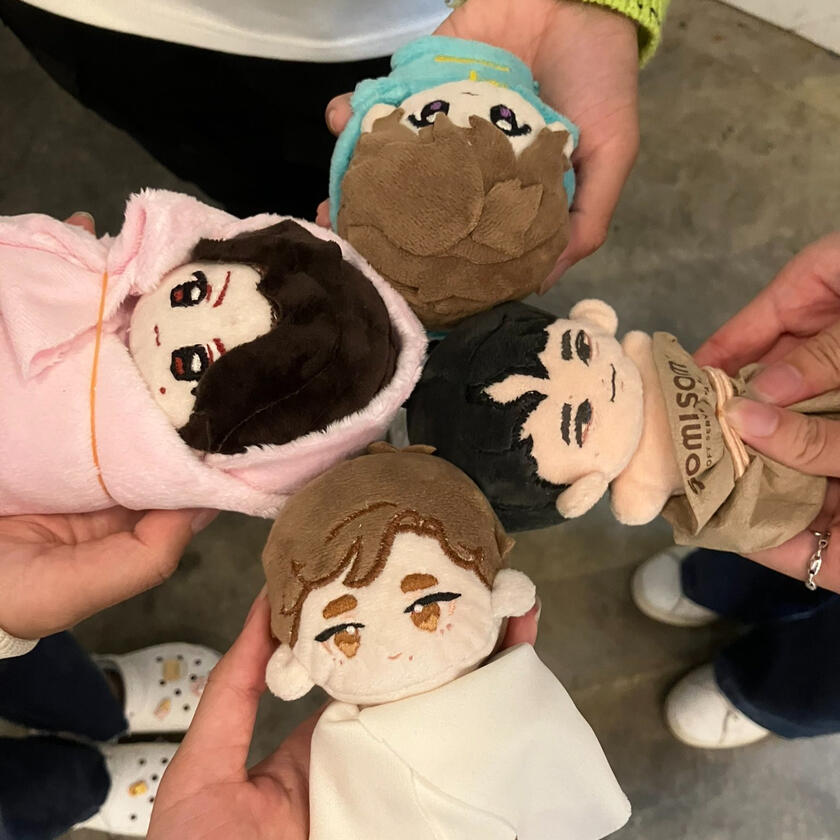
Additional References (most of these are from red note)


Hair Design:
There's a variety of materials and styles that you can use to design the hair of your doll. Each style/material has it's own look and difficulty in making. Before making your doll it is important to find and watch the specific tutorial to make that hair type because it will impact the construction process. You can find more tutorials in the link masterlist page of the website.
Hair Styles:
Glue and Paste Bangs:
I recommend this hair style for those that are making their first doll, do not have an embroidery machine. For this hair, you will make the base doll first, and then cut out the bangs and glue them onto the doll with hot glue/fabric glue.
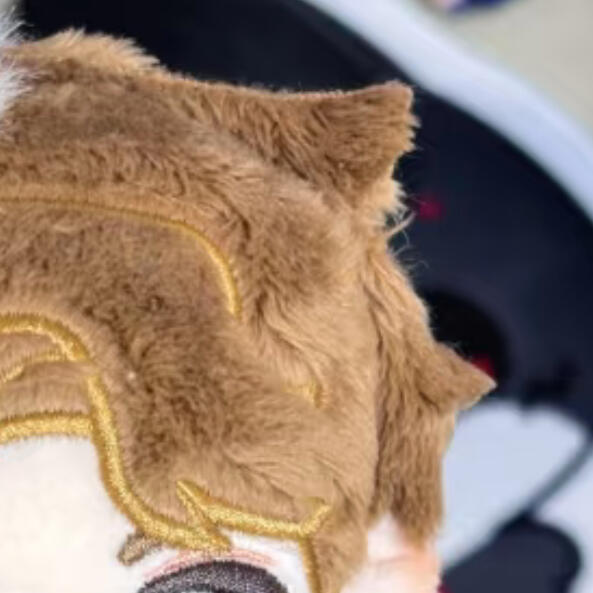
Embroidered Bangs:
If you do not have an embroidery machine/sewing machine I do not suggest doing this style. For this style, you will have to embroider the bangs to the face during the face embroidery process.
Doing the Ahoge/Long Hair/Ears:
These are additions you can add to either style of bang, but you will have to look up additional tutorial/patterns. These pieces of hair will be sewn in between the back of the head and the face to have them come from the hairline.
Hair Materials:
1-1.5mm Minky Fabric:
For beginners I recommend using fabric with shorter fur (the mm measurements are for the length of the hair fibers). These fabrics will be more felt like and easier to cut and sew onto the doll. It is also less prone to shedding fibers.
2mm Minky Fabric
This fabric is slightly fluffier and can look super cute on 10cm dolls. However, the long fibers and thickness can make it difficult to work with when sewing pieces together. It can also be difficult to contain the fibers when embroidering the hairline.
Anything 2mm+ (5mm)
I would not recommend this for any doll under 15cm because of the difficulty in working with it. You would have to use a blade to cut the fabric and make sure the fibers face the correct way when sewing. If you have a sewing and embroidery machine it is much more viable.

Body Templates:
After deciding how you want your doll to look, pick a template from below or search for your own templates! I will be showing 10cm templates because those are the ones I like the most. Most of these templates are set to print on A4 sized paper, but if you scale them on your iPad based on the measurements on the template, you can trace them onto paper to cut out by hand. You can also disassemble a nui from bookoff.
Template: Full Image Linked

Visual Representation

Notes
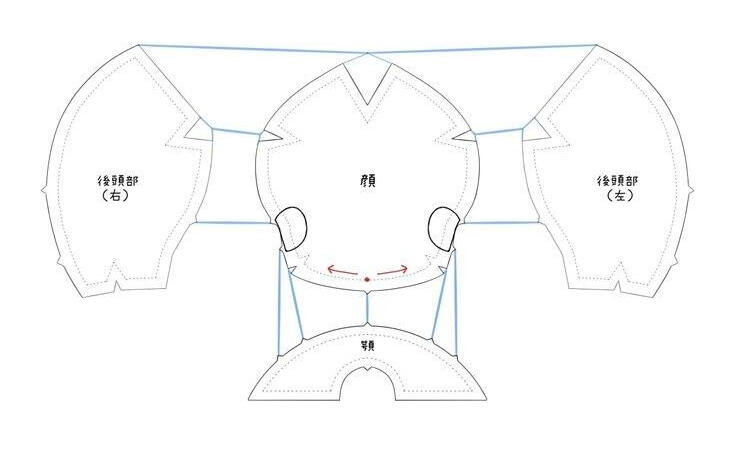
10cm DiaWu_Q Template:
This is what I use for all my dolls! Also known as the classic starfish body pattern. Super cute and easy pattern to use. The cross section for the head should be 6.1cm


10cm MiNi盒子 Template:
Starfish body (in the box) is the smaller doll in the image.
The body outside of the box in the template is the larger doll in the image, but scaled down to the size of the smaller doll. This template can be used for 15-20cm dolls if scaled up. (For dolls who can wear shoes)


10cm POTEPUNFactory Template:
Starfish body with separate arms. I have not used this template yet but it looks cute! Scaled for A4 size printing.


10cm PiyoPicco Template:
This is a good template for those who want a 10cm template that is compatible with premade doll clothes. However, you will have to buy PiyoPicco's book for the template (available at most kinokuniya stores).
Getting Started
Before you get into making your first cotton doll, there's a few things you need to prepare and a few basics you need to learn! Use this section as a mini-checklist of things to do before getting into the thick of it <3
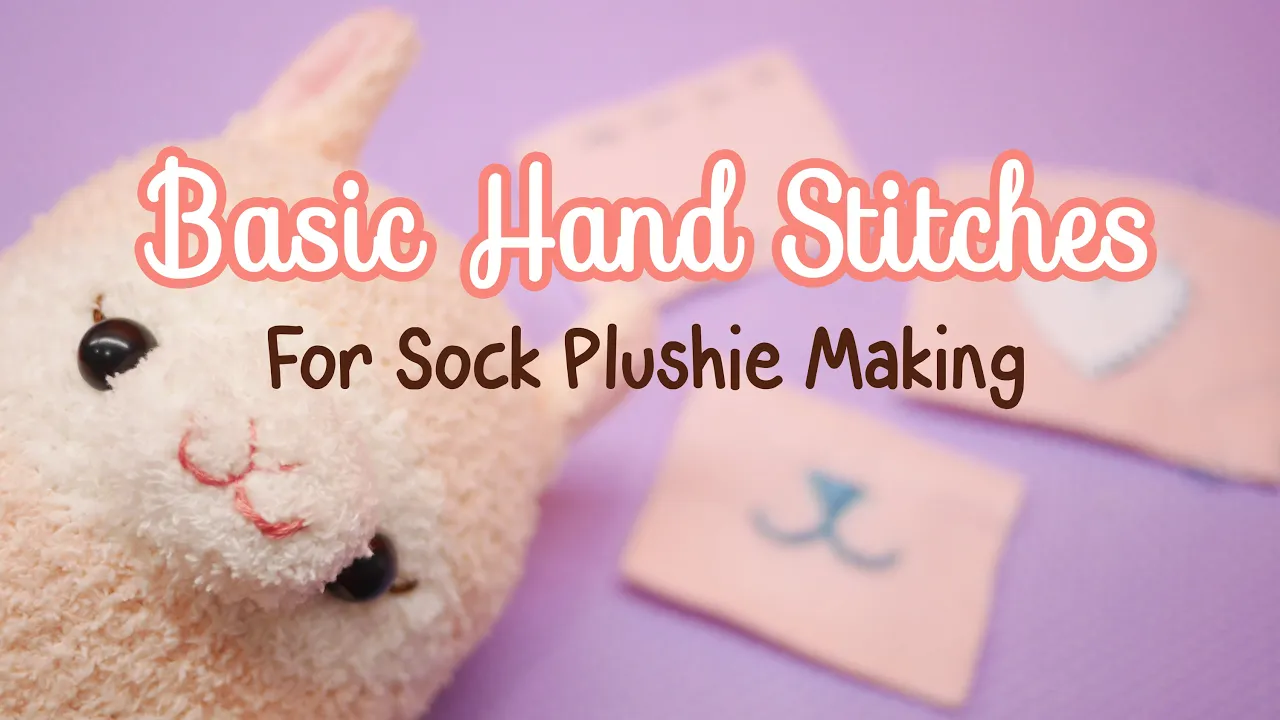
Sewing Basics
Never sewn before? No worries, the following videos should teach you all the basics before making your own doll! Use these links as references during the sewing process if you are not comfortable with sewing.These are the basic stitches/techniques you should know before making your doll (linked in the text):
- Backstitch (Used for connecting all the pieces of your doll together!)
- Ladder stitch (Used to close your doll from the outside once you have stuffed it)
- Starting a Stitch
- Ending a Stitch
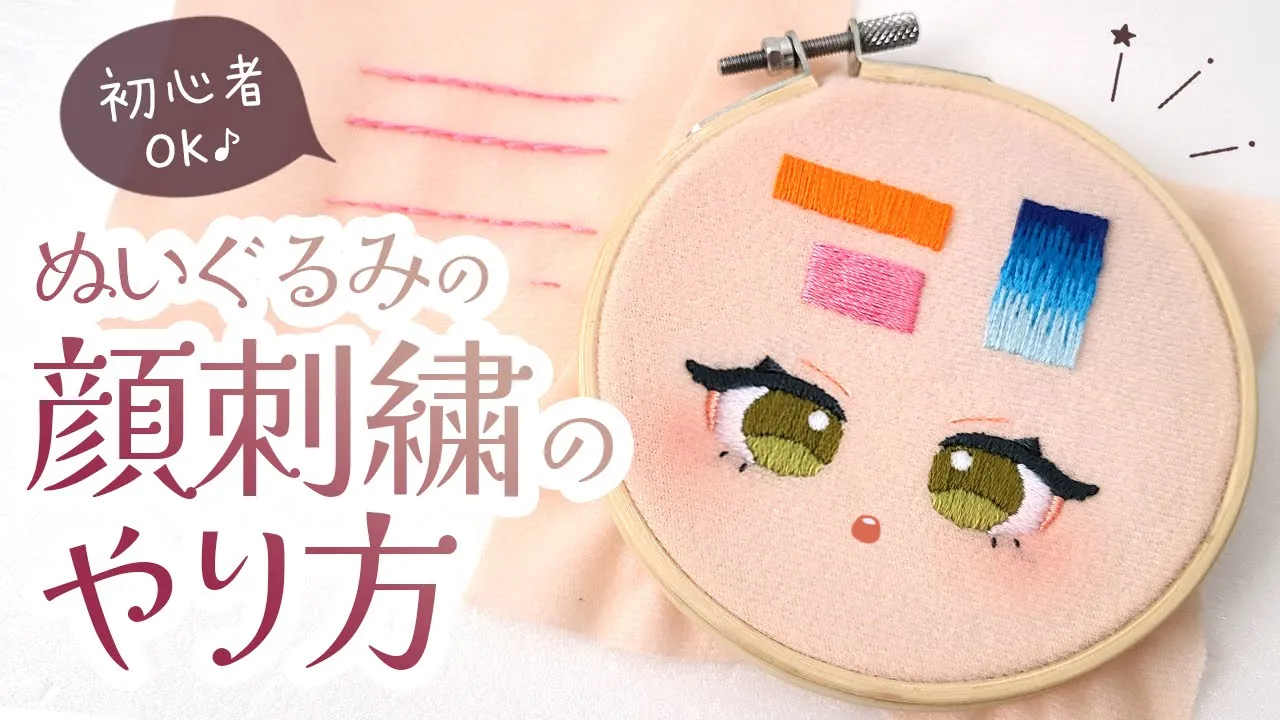
Embroidery Basics
Embroidery is a super important part of the doll because it is how you will make the face! The video below will go over all of the most important parts of embroidery so pay close attention! If you are confused during the embroidery process refer back to the stitch tutorials in this video.
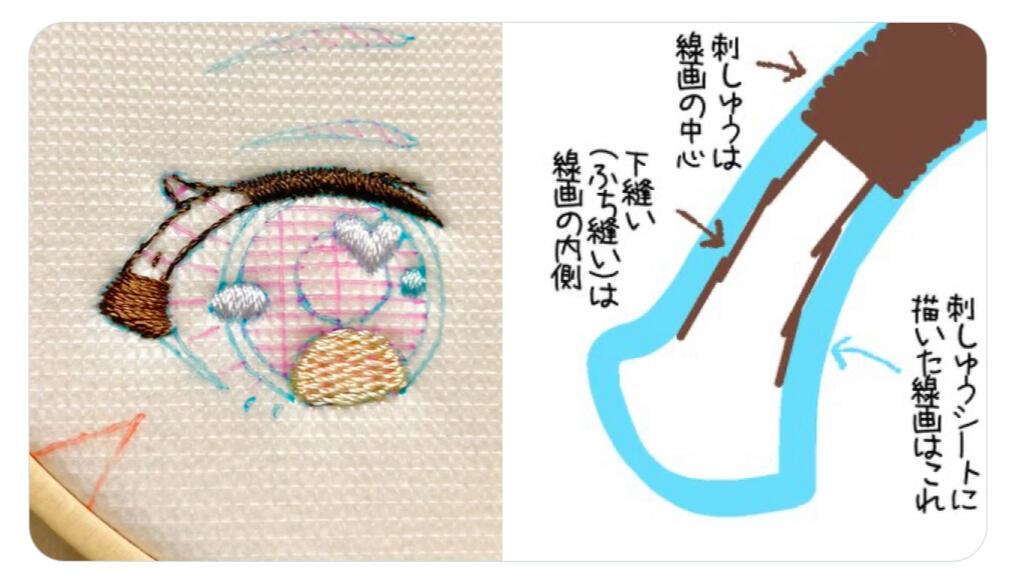
Additional Tips and Tricks:
Although this video is in depth, there's a few more tips I've collected that can help:
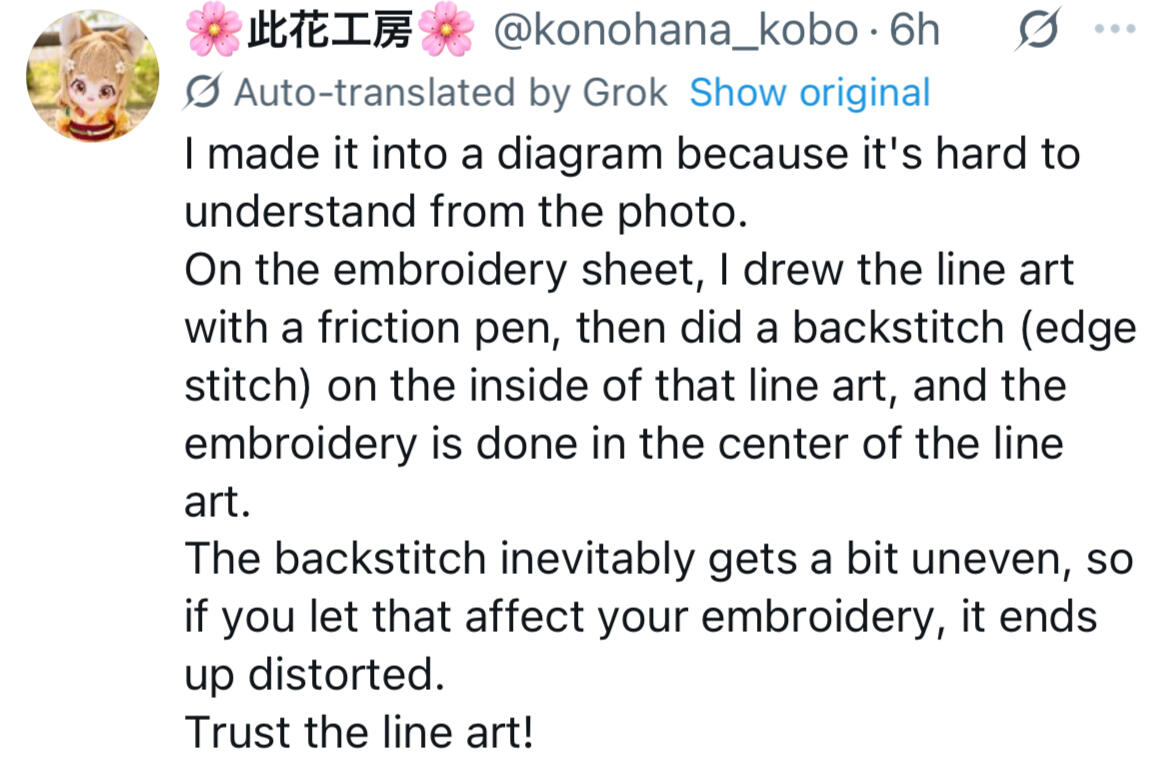
- Be very careful when tracing your pattern onto embroidery paper. The more precise you are at this step, the better your embroidery will look.
- Don't pull the thread too tight or too loose! Too much tension can cause the face to warp and too little can cause your embroidery to be flimsy.
- Pay attention to the pull of your thread on either side of the fabric. You want to pull slowly to avoid knotting.
- When you design your doll, pay close attention to your references and the direction that parts of the face are embroidered. You can either mark this on your embroidery paper, or just keep a mental note.
Assembly Basics
Before you make your doll, it is important to know how everything will fit together. Understanding this will help you not make mistakes in the assembly process. The first video is for a larger doll model, and does not show detailed steps for the body assembly, but is still a great resource. The second video is a better example for smaller body types but it may be difficult to see how it is assembled. I recommend at least skimming through both before starting and referring back as you work.

Materials List
Nui making is a very expensive hobby if you don't have the materials already, but there are certain items you can opt out of buying if you are on a tight budget. The following list will show all the items you will need to make your first doll! Specific links and where to get the materials will be in the link masterlist, but you can grab most materials from your local Daiso.
General Sewing Materials
1. Fabric scissors
2. Something to draw on the fabric
3. Pins/Clips to keep the pieces together (optional)
4. Sewing needles/Thread
5. Plush Stuffing
6. Lint roller (optional to keep your space clean)
7. Paper/Pen to make your pattern (optional if you have a printer)
Nui Specific Supplies
1. Minky/Plush Fabric
2. Embroidery Thread (optional for tight budgets but highly recommended)
3. Embroidery Hoop (8cm-10cm diameter min for 10cm dolls)
4. Embroidery Stabilizer (water soluable)
5. Iron-On interfacing (highly optional but will prevent facial warping)
Additional Information About Some Supplies:
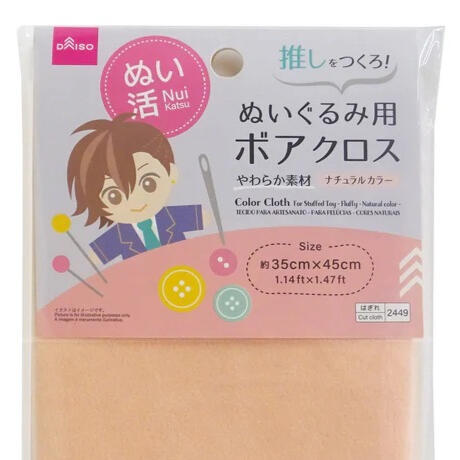
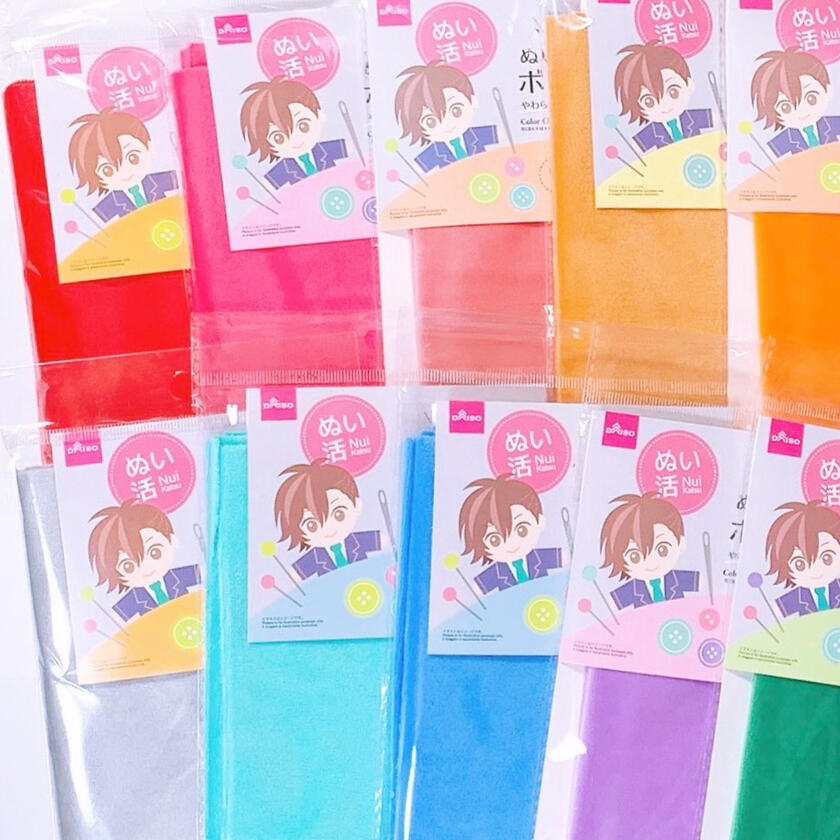
1. Fabric (Face and Hair):
You will need at least two different types of fabric to make your doll.1. For skin, you should buy a 1mm minky/plush fabric. Daiso typically sells this fabric in three different shades (if you are planning to make a tan doll you will have to dye the fabric or source from Aliexpress). DO NOT BUY THE FABRIC WITh THE GIRL MASCOT ON THE PACKAGING (IT IS FURLESS)
2. For hair, you will need another color of minky fabric with hair fibers the length that you chose in the design section of the process. You can use Daiso fabric or source from Amazon/Aliexpress (links will be in the masterlist tab)

2. Embroidery Thread:
Embroidery thread is different from regular thread because it is smoother and is less prone to getting caught on itself. This makes it easier to embroider with. You can opt-out of buying these and use regular thread if you have to. I recommend buying from the following brands (do not buy from Daiso because the quality of their embroidery thread is very bad and will work worse than sewing thread):
- DMC
- Cosmo
- Olympus Thread
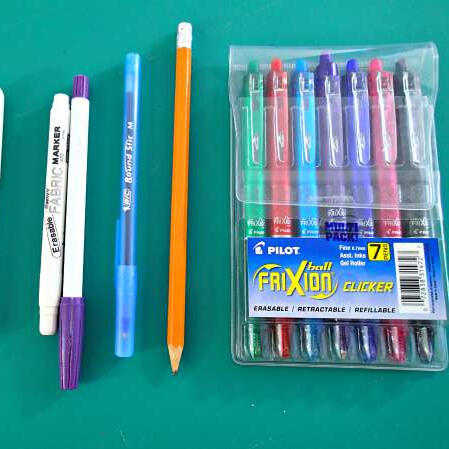
3. Frixion Pens
You can use any pen that doesn't bleed/fabric chalk to trace your patterns onto the fabric, but I prefer frixion pens from Daiso. In practice, they've worked the best. If you are working with darker fabric, also consider grabbing a white gel pen.
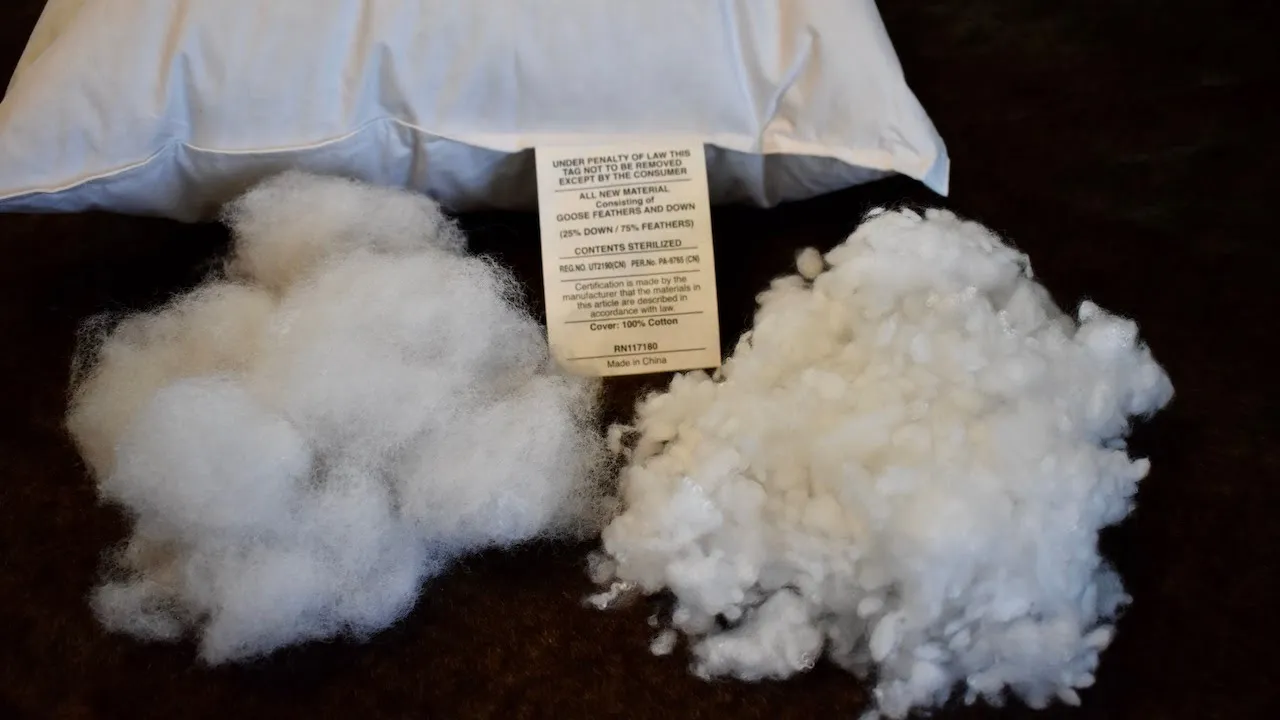
4. Plush Stuffing
There's a lot of different types of stuffing and batting out there. Two of the most common ones are polyester fiber fill and polyester cluster fill. I personally use fiber fill because it is what I have on hand, but my friend prefers cluster fill because it is easier to pull apart in small chunks. The video on the left describes the differences between the two.
Step-By-Step
This section is currently UNDER CONSTRUCTION.
This section will do its best to give a timeline/share the full process of making your doll with images and supplementary tutorials. By the time this page is completed, you should be able to use it as a guide to follow along with as you work! Please be patient with me <3
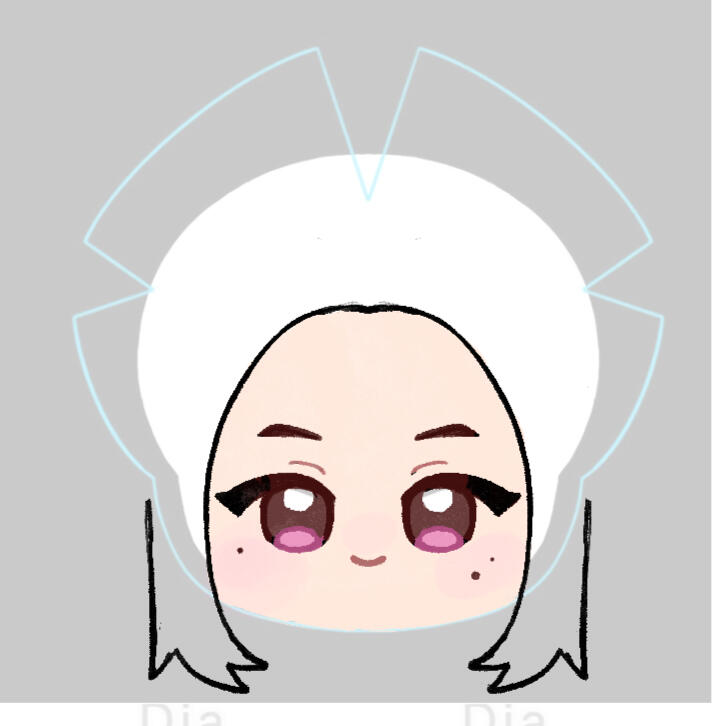
1. Design Your Doll
The first step is to design your doll! Choose a template to use and upload it to your drawing program and start drawing the face. You should also start planning what type of hair to do and can draw out that on the template as well.
Tips for this step:
Placeholder
Image/Video Placeholder
2. Prepare Your Templates
The next step is to prepare your template. Print and cut or trace and cut out all pieces on paper.
Image/Video Placeholder
3. Set-Up and Start Embroidery
Trace your head pattern onto your embroidery stabilizer, making sure the piece is large enough to fit over your embroidery hoop. Place everything onto the hoop (fabric and stabilizer on top), using a basting stitch around the face to keep it stable, and start embroidering. Use PiyoPicco's video as reference.
Image/Video Placeholder
4. Remove Embroidery Stabilizer
Remove your fabric from the embroidery hoop and carefully tear away your embroidery stabilizer from your fabric. Use a little water to remove the remaining pieces you cannot get to. Afterwards, flip the face to the bad side and trace the head pattern on the back using the basting stitch as a guide. You can remove the basting stitch after this.
Image/Video Placeholder
5. Trace Template Pieces Onto Fabric
Use a frixion pen to trace all your pattern pieces out on the bad side of the fabric. Make sure to mark the middle of certain areas, and important landmarks on the pattern to make lining up the pieces easier later. Draw another line around your traced pattern, leaving 5mm around the original traced line as seam allowance. Cut all pieces out based on the outside line you drew.
Image/Video Placeholder
6. Assemble the Body
Placeholder Text
7. Assemble the Head
Placeholder Text
Image/Video Placeholder
8. Attach the Body to the Head
Placeholder Text
Image/Video Placeholder
9. Stuff the Doll and Stitch it Closed
Placeholder Text
Image/Video Placeholder
10. Cut Out and Glue the Bangs
Placeholder Text
Links Masterlist
This section contains all the links and additional resources that can help you with your nui making journey!I.E: nui making accounts, tutorial videos, templates, material links, etc.
Creators/Helpful Accounts
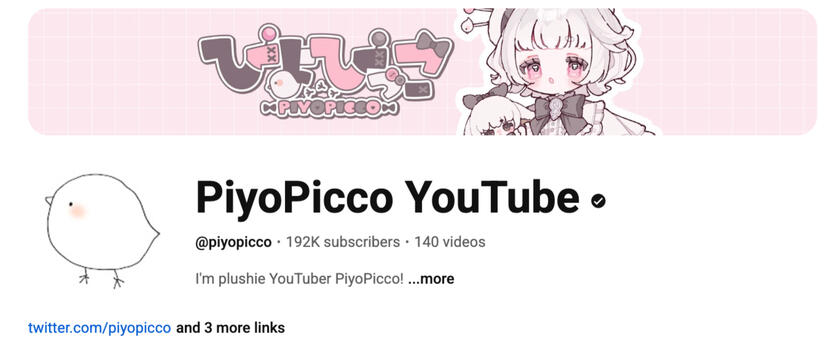


PiyoPicco
Great Youtube tutorials on embroidery and general assembly
TaCute
Much more in depth tutorials/step by step with him
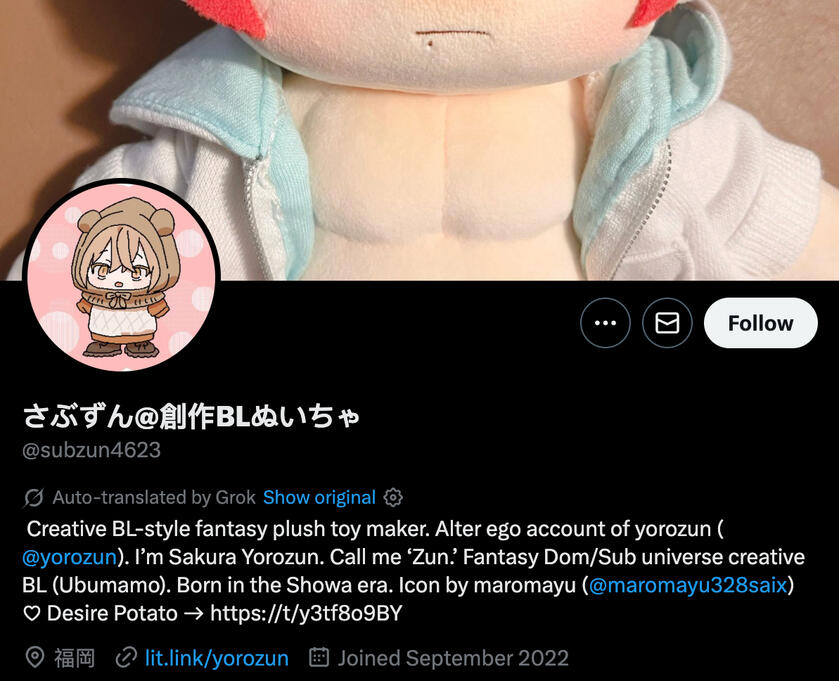
Subzun4623
Twitter examples of how they assemble patterns
@Zun_Nuicha (Their plush tutorial account with more patterns)
@User-Subzun (Their YouTube/mostly 20cm doll tutorials)
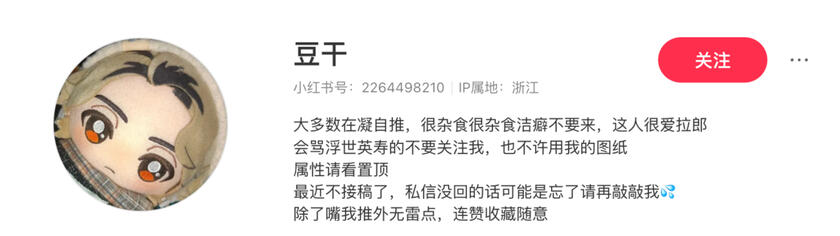
豆干
Kamen Rider 10cm Doll Templates on Red Note
MINI盒子
a lot of good body templates of different sizes and designs
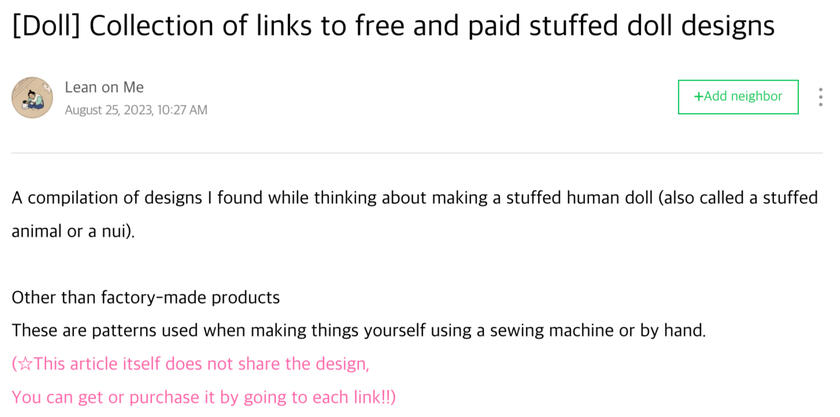
Lean On Me
INSANELY DETAILED NAVER BLOG WITH EVERYTHING YOU NEED TO KNOW + Patterns
Tutorials
Assembly From Start to Finish (PiyoPicco)
Hand Embroidery Techniques (PiyoPicco)
In Depth Face Embroidery Tutorial (PiyoPicco)
Head Assembly and Non-Embroidered Hair Tutorial (TaCute)
Head Assembly and Non-Embroidered Hair Tutorial #2 (TaCute)
Assembly From Start to Finish Larger Sized Doll (MINI盒子)
Hand-Sewing Basics
Materials (if the material is not on this list it can be found at your local craft store/Daiso)
Fabrics:
Lazy Lamb Plush Fabric
Good variety of minky fabric (haven’t ordered from this place yet but seems solid)
Kullaloo Plush Fabric
1.5mm Minky Fabric from Amazon (I use this for hair)
AliExpress
I don't have a specific listing here yet!
Embroidery Thread:
Cosmo Lecien: PiyoPicco uses this
Olympus Thread: PiyoPicco also uses this
DMC Thread: at Michaels for Cheap!